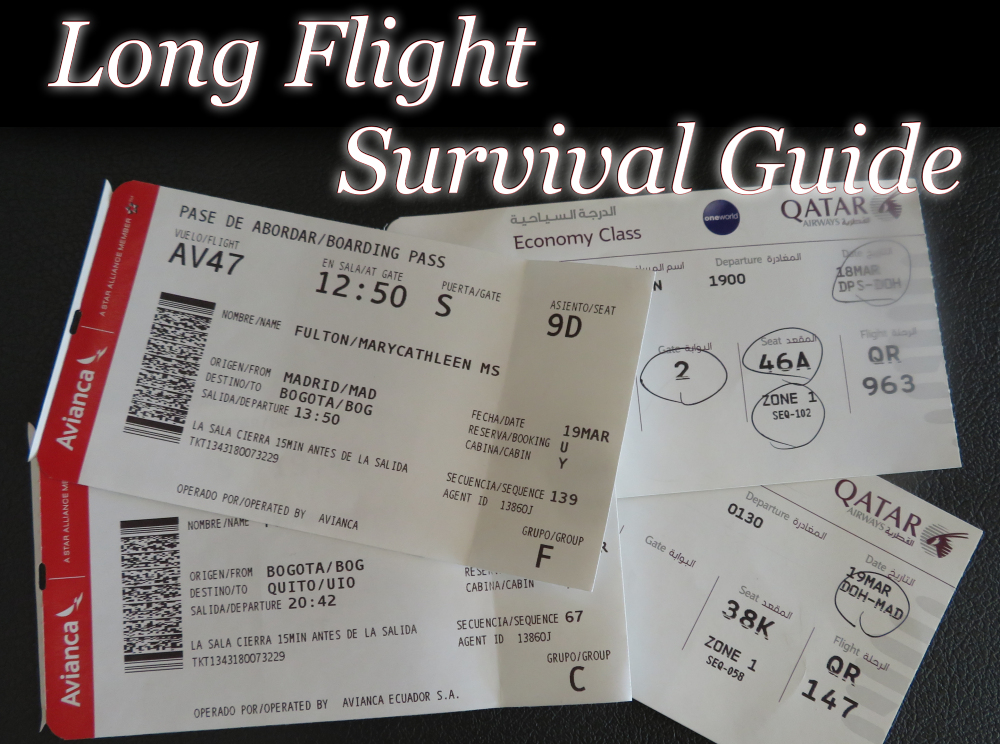
On the 18 of March, I left my little Gili Air bungalow in Indonesia and embarked on a 50-hour journey to Quito, Ecuador. It included a three-hour boat trip, three long-haul flights (flights over six hours), and one short flight.
This was my first truly long-haul journey and I was about to turn 65 years old. You can imagine my trepidation. But I had planned and prepared and by the time the boat approached the little island to take me away, I was not looking upon this expedition with dread, but with anticipation—as an adventure.
Read my essay, “Turning Drudgery into Adventure.”
My preparedness paid off. I don’t look back on the experience with distaste or resentment. I feel empowered…I could do this again!
In this post, I share with you the things I did right—the things that made the trip an adventure.
Plan, Plan, Plan
As I searched for reasonable itineraries, costs, and airline’s, here are a few things I kept in mind.
- At least one long layover of 4-6 hours.
- Try to have 1 or more legs on an airline with a sterling reputation. (Quantas, Qatar, Emirates, Turkish, are a few.)
- Avoid cut-rate airlines
- If you can afford it, reserve a business class seat on one of the overnight flights, especially if you have problems sleeping on planes.
- Even if you usually carry on all your belongings, consider checking your largest bag—especially if you have more than one transfer. Carrying around and keeping track of a lot of “stuff” can become exhausting.
TIP
Paying in advance for your checked bag, if required, is sometimes cheaper if you do so through the airlines own website rather than with a booking engine (like Kiwi, Orbitz, etc.) Once you have the flight reserved, then visit the airline website and plug in your reservation ID, to pay for checked bags, choose seats, and make other changes.
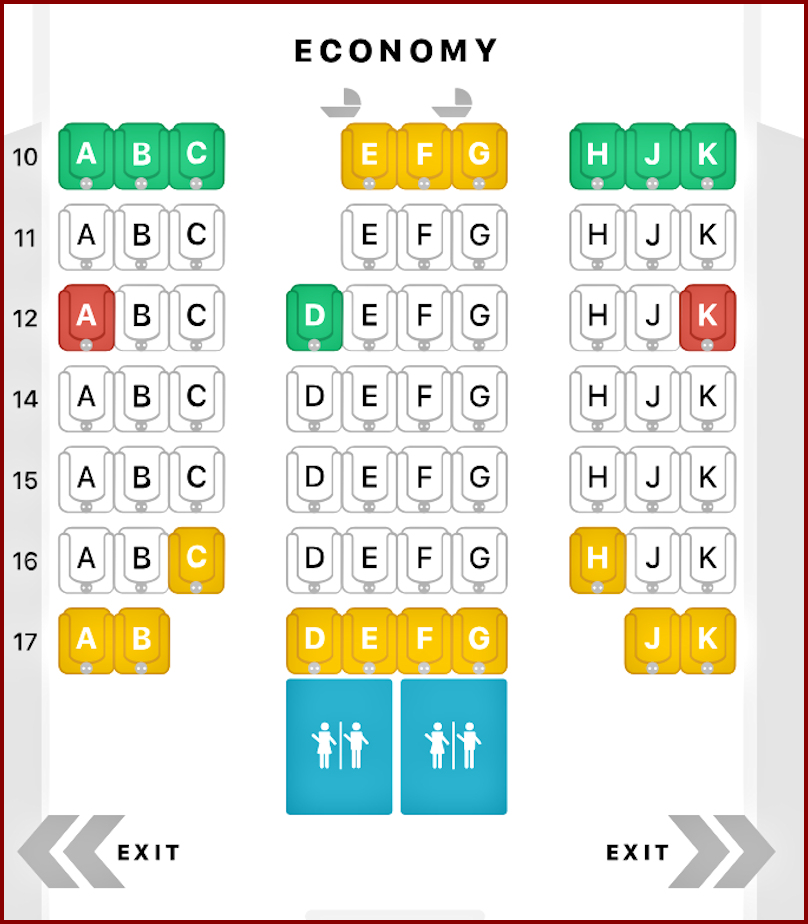
Choose your seats ahead of time:
- I love to look out the windows and I do like to have the wall to lean against when sleeping. But, I have discovered that aisle seats have their advantages as well on flights of more than 5 hours: I can easily go to the toilet without bothering my neighbors; I don’t feel so hemmed in on the long flight; I can just stand by my seat and stretch;
- If there are two of you flying together and if you can reserve seats in advance, choose an aisle and a window seat. The last seats to be reserved are the single-middle seats. If the flight is not full, you may end up with a little more space between you. If someone does arrive to claim the seat and you want to sit together, one of you can offer to trade your window or aisle seat. The passenger will usually agree to take the better seat.
- If there is a center section of seats, choose an aisle seat near the back. It is less likely the other seats will be reserved, and you may get a row to yourself.
- SeatGuru.com provides seat maps for most flights around the world. It points out the not-so-great seats and can help you decide on seats based on your preferences.
Send your itinerary to family member or friend. Promise to let someone know when you have reached your destination.
If you are joining a tour at your destination, choose an itinerary that has you arriving at least an extra day before the tour starts so you will have time to recuperate. You will enjoy the tour more if you don’t start it off fatigued and headachy. (See “Taking Care of Yourself After Arrival” at the end of this post.)
Research visa requirements. If you don’t have the right documentation, you may not even be allowed to board the plane.
Be sure you have tickets for exiting your destination country. Immigration may ask for them. I often don’t have onward-travel tickets because I usually don’t know where I am going next. I learned about ways to accommodate this request from this excellent article from GoatsontheRoad.com, “7 Ways to Provide Proof of Onward Travel.”
Prepare for Arrival Before You Leave
Make your hostel or guesthouse reservation and transport to it arranged or planned out before you leave. On shorter trips I usually research cheaper transport alternatives, like local buses and trains into the city. But on long-hauls, I know I will be exhausted and will need some TLC. As you enter the arrivals hall, a sign with your name on it is very welcome, indeed.
Decide how much money you will initially need in your new country. You will be so tired when you arrive at the last airport, that making those currency calculations while staring at an ATM screen may be a challenge.
Download Offline Google maps for your destination(s). More than once this has come in handy, when my taxi driver had no idea how to get to my lodgings.
I also check for recommended cafes near my lodging before I depart. When I wake up, I know where to go for “breakfast” or whatever meal it happens to be.
If you are arriving before check-in time or late at night, let your lodging host know. A good host will try to have your room ready for you if you are going to be early; or have staff aware that you will be late. If you are arriving very late at night, make sure the lodging will have staff on hand. Some smaller places have no night desk. If they cannot accommodate a late arrival, choose another place to sleep.
Here are the other items I download to my mobile device to have ready on demand:
- All e-tickets and/or boarding passes
- Confirmation of lodging reservation, that includes the address of the lodging. The address may be requested at immigration and might be useful for a taxi driver.
- Proof of onward travel from the country, or return trip.
Prepare your Body and Mind
For the few weeks before the trip, be sure you are getting plenty of exercise, water, healthy food.
Get plenty of rest the last few days before the trip.
Take vitamin C or another immune booster supplement every day.
Manage your expectations. Decide it is going to be an adventure, not a drudgery.
Read my essay, “Turning Drudgery into Adventure.”
Plan things to do on the flights. Bring reading material, puzzles, journal-writing materials. Watching some movies and TV is okay but try not to binge. It dulls your mind.
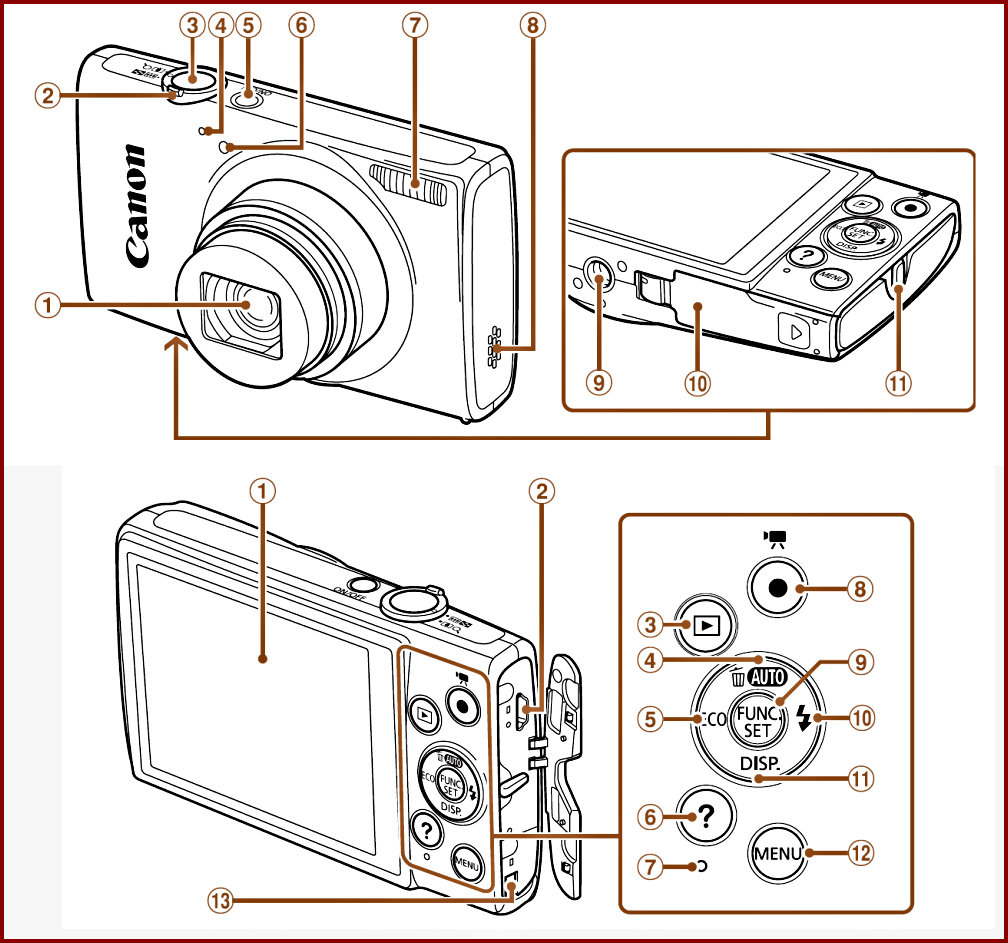
TIP: A long flight is a good time to learn more about your camera so you will take better photos at your destination. Download a copy of your camera’s manual and try out all the bells and whistles.
Make Yourself Comfortable
When packing, place items that you will probably use during flights in your personal bag (that goes under the seat in front of you). If the items won’t all fit in your bag, put them a small stuff sack that can easily be pulled out of your carry-on right before you sit down. Then you are less likely to struggle with the overhead bin during the flight.
Dress in loose clothing for the flight. Dress in layers that you can easily adjust for the temperature.
Bring a travel pillow. Or make one. In my effort to travel light, I prefer not to carry a travel pillow, so I pack some of my clothes in a stuff sack and put that in my carry on. Even if the airline does provides a pillow, a second one can come in handy in the challenge to get comfortable.
Bring a shawl, sweater, or small light blanket to cover your shoulders. Not all airlines offer blankets.
About an hour before landing, use the toilet to avoid the line or risk having the “fasten seatbelt” light come on and stay on until you land.
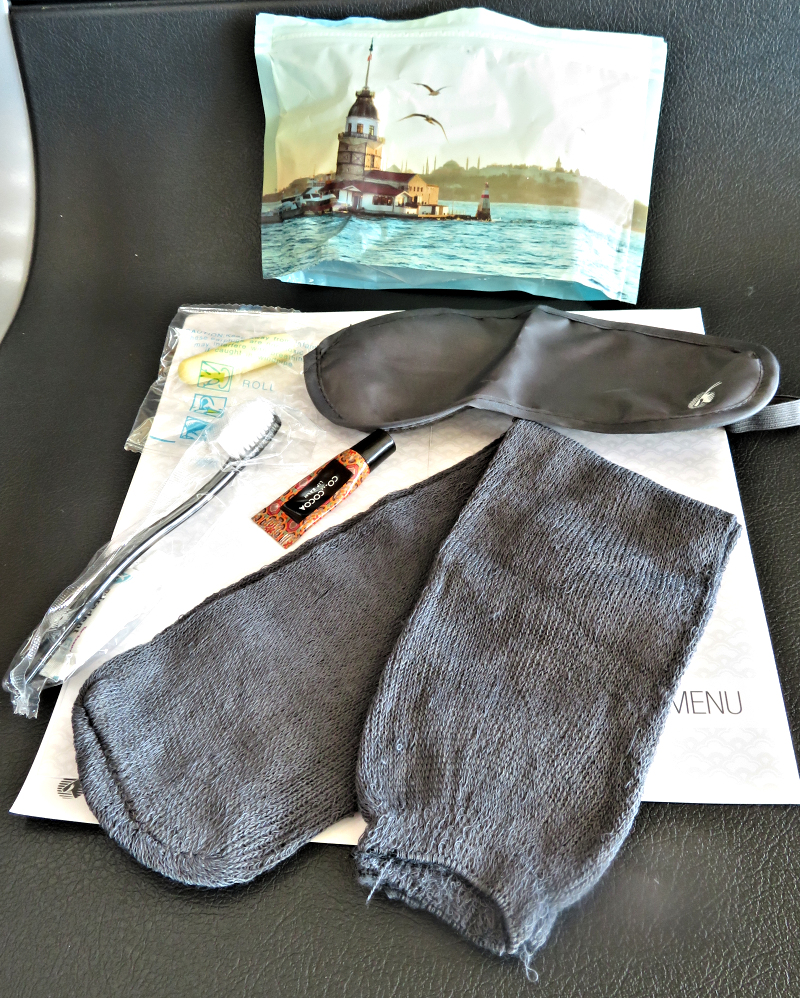
Carry-on Survival Kit
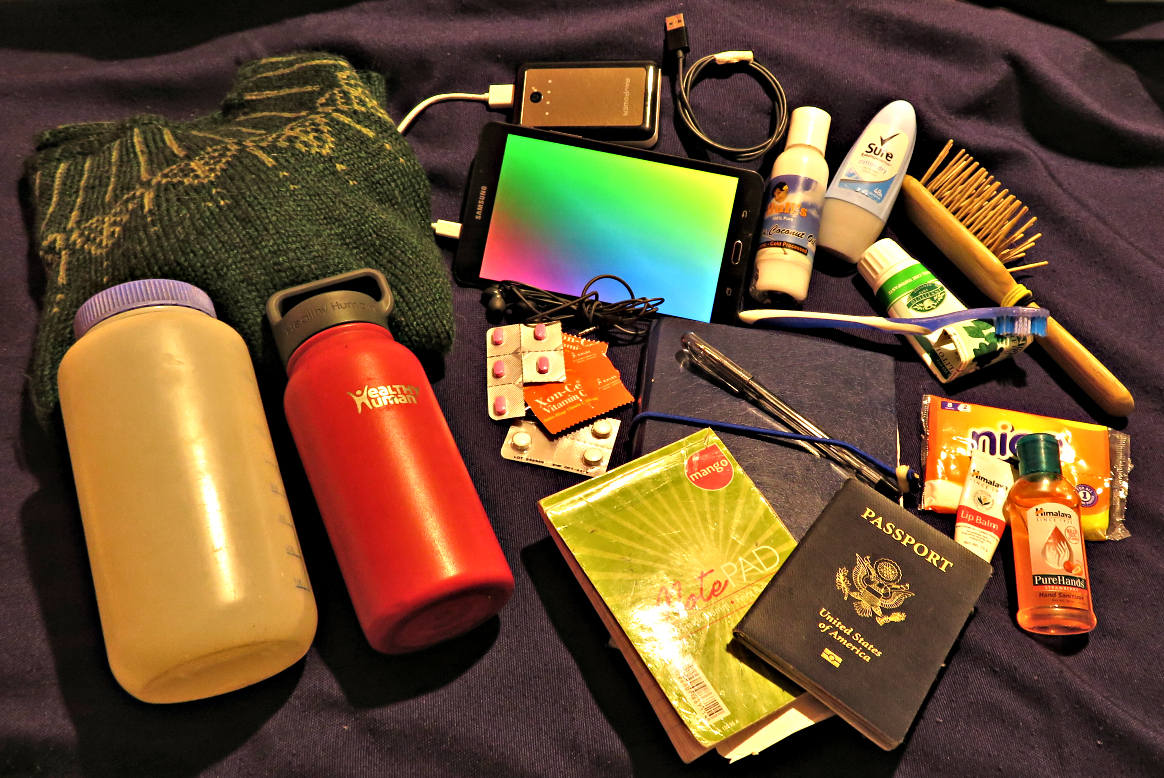
Here are some essentials I pack in my carry-on bag (that goes in the overhead bin) and “personal item” (that goes under the seat):
- Healthy snacks and simple meals
- Refillable water bottle(s)
- A variety of things to keep you occupied: puzzles, books, a journal, games, etc.
- Change of clothes to match the weather at your destination.
- Freshen-up items: moisturizer, deodorant, wet wipes, eye drops, tooth brush and paste, hairbrush.
- Backup battery pack for your mobile device.
- Meds: Benadryl (which is the same med as Dramamine), pain reliever, plus any prescription medications.
- Vitamin C or other immune booster
Water and How to Manage It
Always carry at least one refillable bottle.
You will always have to empty it before going through security checkpoints, so be prepared. Not all checkpoints have a place to dump water, so make a trip to the restroom or water fountain before getting in the security line. Bottle refilling stations are becoming more common in large airports.
If you are transiting through a country during your journey, you may be required to go through another security checkpoint between flights, even though you may not even exit the transit zone. Plan on this as you disembark. If you have water that you cannot drink up, start looking for a place to dump it right away. Once you see that there is a checkpoint, it may be too late. You may not be allowed to backtrack to find a restroom. (This happened to me once.) If that happens, and you really don’t want to lose that $20 bottle, start drinking! Then refill before you board your next flight.
Sometimes (and I find this VERY annoying), you are not allowed to take liquids of any kind on board a flight—even after you have gone through security, and even if you JUST purchased it in an airport shop. Here are two solutions:
- Sometimes, you are forewarned, but if you have ANY concerns that you not will be allowed to bring liquids on board, ask the attendant when you arrive at the gate so you have time to pour the water out or drink most of it, and so you don’t lose your good bottle.
- Soon after the flight is underway, ask the attendant to fill your bottle for you so you will be more likely to stay hydrated.
Report Your Progress to Friends
Sending up-to-date reports of your journey out to friends and family is a fun way to stay connected and excited about your journey. Use whatever method you are most comfortable with—email, blogging, or social networking, like Facebook or Instagram. During the time you have wifi access at each connecting airport, you can read comments from previous posts, and report on the most recent leg of your journey. Your friends will be a cheering squad.
Even if you cannot send the posts in real time, keep journaling the experience so you can publish them later.
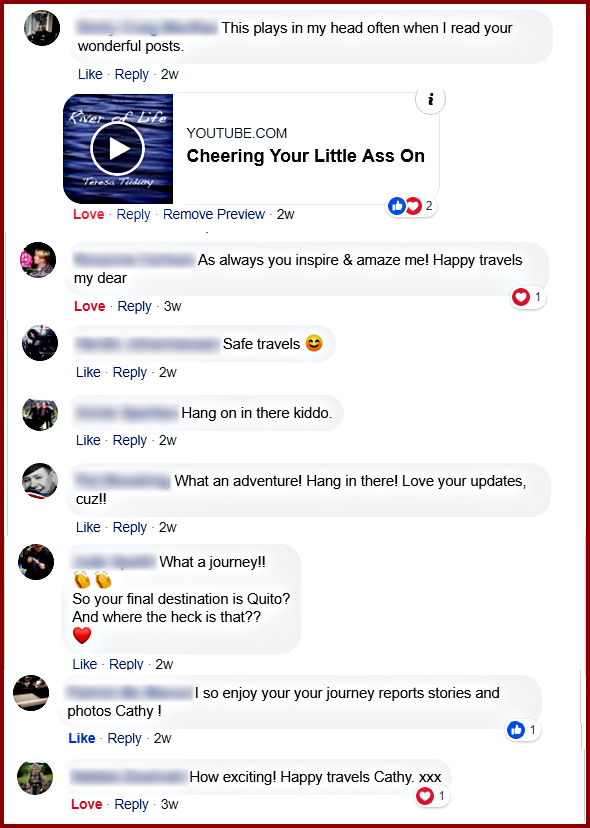
Here are some ideas:
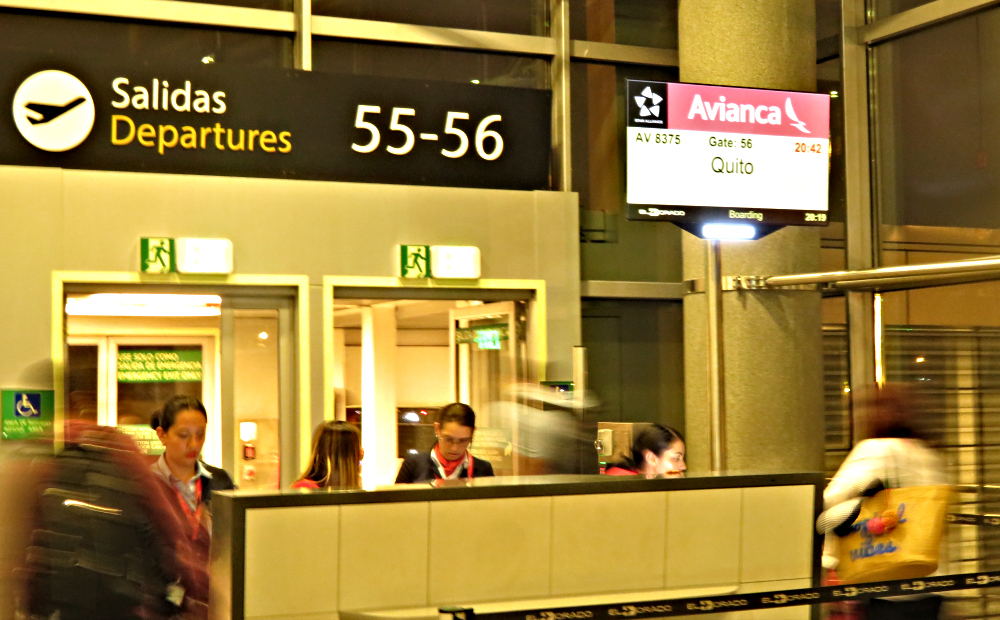
- Photograph and video your journey on and off the plane: Gate signs, airport, plane you fly on, selfie in your seat, food, smiling attendants
- Interesting people you meet
- Things you are enjoying and why
- What was the transfer like?
- How you are doing
- What’s working, what’s not
- Tag any companies you mention in your posts. I got a personal comment from Qatar Airways!
I found that I was not able to report each leg in real time because of some short connecting times. But I caught up within a few days after my final leg. I had six posts—one for each leg of my journey and an epilogue.
Recruiting Other Allies
Always smile for the flight attendants. Be courteous.
Keep your sense of humor—it will come in handy.
Whenever you have a reasonable opportunity, let people you meet along the way know that you are on a long journey. Watching the ticket clerk’s eyebrows rise when I showed him my itinerary, or hearing the gate clerk’s “Wow!” were little prizes I collected along the way.
If things are not going well, or you missed your flight, when you approach the customer service counter, smile (or try to) and say, “I’m hoping you can help me.” Those can be magic words—most people truly want to help.
Don’t Waste a Long Layover
Depending on how long your layover is, here are some things to do:
- Toilet (of course)
- Make your way to the next gate soon in the layover, so you won’t be rushed as departure time approaches. On the way to the gate, watch for toilets with no lines and water fountains/bottle refill stations.
- Refill your water bottle.
- Refresh yourself. Change clothes; shave; brush teeth; apply moisturizer.
- Get some exercise:
- Walk briskly between gates.
- Take the stairs instead of the escalators. Walk around the moving walkways.
- Find a quiet place and do some stretches and breathing exercises.
- Some airports now have yoga rooms. (Research this ahead of time by checking the airport’s website.
- Call a friend or family member.
- If you don’t automatically have access to airport lounges, you can usually pay a fee to use a lounge for several hours. Research this ahead of time by checking the airport’s website and see what lounges are available and the cost.
- Work on your leg-by-leg account. Try to post one. Read comments that have been made while you were in the air.
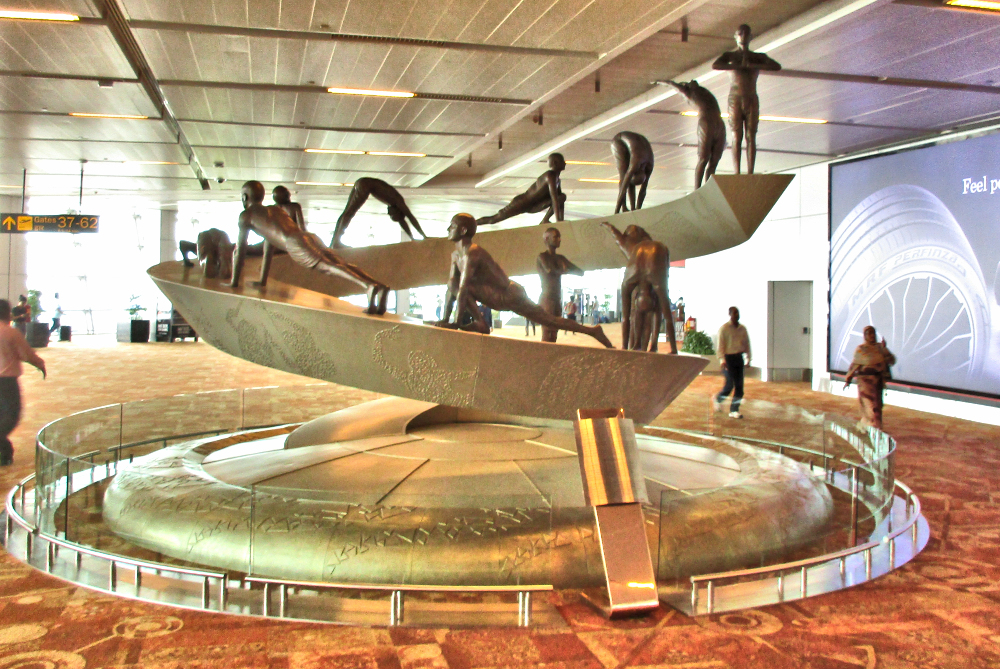
- Peruse the art in the airport.
- If you are required to completely exit the airport (because of a change in airlines, for example), and if you have time, go outside and get some fresh air. (unless it is all a smoking area, like I encountered in Madrid. I think passengers should now be lobbying for “Fresh Air” areas in the concourses!)
Be Security Smart
Double check online ahead of time to see what you can put in checked and carry-on bags. This changes all the time.
Keep a list in your bag (even when it is at home) of things to check to be sure you packed them in your checked bag—like knives, scissors, knitting needles. I have lost two good Swiss army knives because I normally carry them in my purse and forgot to transfer them to my checked bag when I packed.
Pack your laptop, mobile devices, and liquids in your carry-on bag so that they are easy to remove and replace.
Keep Documentation Handy
It is easy to remember that you need to keep your passport and boarding passes close at hand. But there are some other things that should be at your fingertips. Most of them can go on you mobile device. Here is what I download to my device before every trip:
- E-tickets
- Guesthouse confirmation. Immigration often asks for an address of the place where you will be staying.
- Visa documentation, if required.
- Proof of onward or return travel.
Some countries require that you have a paper copy of your visa. If so, be sure to acquire a copy a few days before you travel. Hostels and guesthouses often will print it for you.
On Arrival
Change clothes to match the weather at your destination.
I mentioned this above: have your guesthouse reservation and transport to it arranged or planned out before you leave. (On shorter trips I usually research cheaper transport alternatives, like local buses and trains into the city. But on long-hauls, I know I will be exhausted and will need some TLC. As you enter the arrivals hall, a sign with your name on it is very welcome, indeed.)
In your fuzzy-headed state, don’t forget to get local currency before you leave the airport.
Let your loved ones know when you have arrived. Try to do this before you go to sleep.
Take Care of Yourself After Arrival
If possible, try to allow one or two days after the flight with nothing to do. Rest in your guesthouse. Allow yourself to catch up on sleep. Don’t feel guilty if you take three or four naps the first day. Even on the second, third, and forth days, you may become fatigued easily.
You may not feel well. Nausea, headaches, fatigue, sinus congestion, constipation are all normal after-effects. Your body has experienced poor sleep, stress, change in time zones, several extreme altitude ups and downs; a day or more of dry cabin air, close encounters with many germs, and (most likely) insufficient hydration. Be patient with your body’s needs.
Eat well but take care of your digestive system. Don’t leap into large heavy meals, especially spicy ones. Don’t eat too much—a few small meals or snacks for the first couple days will help your system ease into a new diet and not over-stress it.
Drink plenty of water. Three to four liters the first 24 hours is not too much.
Let’s Hear from You!
Have you done some long-haul traveling? What are your suggestions for being more comfortable and making it an adventure?
Blog Posts You May Find Interesting

The Pros and Cons of Escorted Tours
I will give you the main reasons I don’t use escorted tours, as well as a few reasons why someone would consider them.

Slow Down, You Move too Fast
You won’t see as much of your destination country, but your travel experience will be much more memorable and deeper—not to mention the very special perk of meeting and becoming friends with locals.

Embracing Solo Travel
The main advantage of traveling alone is that you can decide where to go and how long to stay and you have all the say-so in your itinerary.
